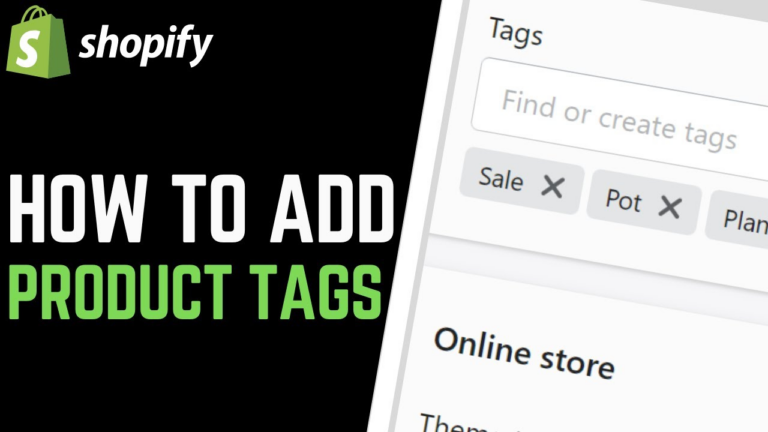
Tags are an essential tool for organizing and categorizing products in your Shopify store. They help customers navigate through your inventory and improve the overall shopping experience. In this article, we will walk you through the process of creating tags on Shopify, providing clear and concise steps to help you optimize your product management.
Understanding the Purpose of Tags
Before diving into the process, it’s crucial to grasp the purpose and benefits of using tags in your Shopify store. Tags are descriptive labels that you can assign to products to group them based on common characteristics. They enable you to create custom collections, improve search functionality, and implement advanced filtering options. By organizing products with relevant tags, you enhance customer experience, simplify inventory management, and increase the discoverability of your offerings.
Accessing the Shopify Admin
To begin creating tags, log in to your Shopify account and navigate to the Shopify admin dashboard. From here, you’ll be able to access the various settings and customization options for your store.
Navigating to the Products Section
In the Shopify admin dashboard, locate and click on the “Products” tab. This will open a drop-down menu with additional options related to managing your products.
Selecting a Product to Tag
Choose the product you want to tag by clicking on its name or by using the search functionality in the Products section. This will open the product details page.
Adding Tags to the Product
Once you are on the product details page, scroll down until you find the “Organization” section. Here, you will see a field labeled “Tags.” Enter relevant keywords or phrases that describe the product and separate them with commas. For example, if you are selling T-shirts, you might use tags like “men’s fashion,” “summer collection,” or “graphic tees.”
Creating New Tags
If you want to create new tags that are not already in your tag list, simply type the desired tag in the “Tags” field. After entering the new tag, press the Enter key, and it will be added to your product. This way, you can customize tags to suit your specific product attributes or marketing strategies.
Utilizing Consistent Tagging Practices
To maintain organization and ensure a seamless customer experience, it’s essential to adopt consistent tagging practices. Define a tagging system that aligns with your business and apply it consistently across all products. Avoid using excessive tags or generic terms that may confuse customers. Instead, focus on using descriptive and relevant keywords that accurately represent the product attributes.
Conclusion
Creating tags on Shopify is a straightforward process that can significantly improve the organization and discoverability of your products. By following the steps outlined in this article, you can effectively categorize and manage your inventory, leading to a better shopping experience for your customers and increased sales for your business.


