Bootstrap Autocomplete Search
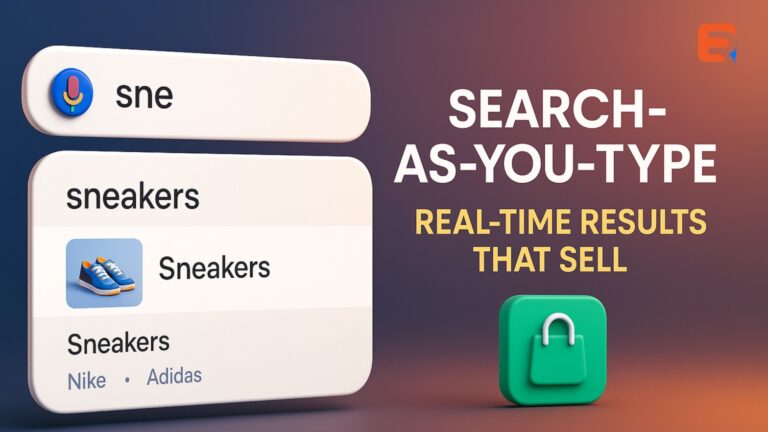
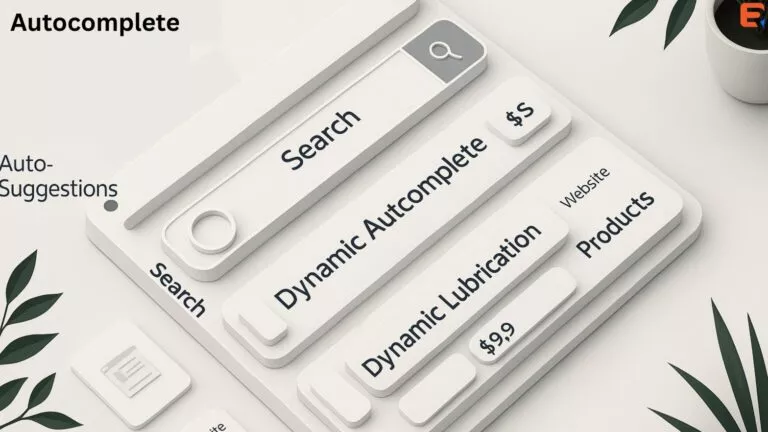
In this article, we will see how to create a bootstrap autocomplete. The Bootstrap Autocomplete component predicts the words being typed based on the first few letters given by the user. You can search the list using basic scroll and the keyboard arrows
Enhancing User Experience with Bootstrap Autocomplete Search
In the realm of web development, creating a seamless and intuitive user experience is paramount. One of the key components in achieving this is implementing a robust search functionality that understands user intent and provides instant, relevant results. Bootstrap Autocomplete Search is a powerful feature that not only enhances the user experience but also simplifies the process of finding information on a website.
Understanding Bootstrap Autocomplete Search
Bootstrap, a popular front-end framework, offers a variety of components to streamline web development. The Autocomplete Search feature is particularly beneficial for websites with a substantial amount of content, allowing users to quickly find what they’re looking for without having to navigate through numerous pages. This feature predicts and suggests search queries based on the user’s input, making the search process more efficient and user-friendly.
Implementation Steps
Implementing Bootstrap Autocomplete Search involves a few straightforward steps. First and foremost, ensure that you have the latest version of Bootstrap integrated into your project. Then, you can utilize the Bootstrap Typeahead plugin, which is designed specifically for adding autocomplete functionality to search inputs.
Here’s a basic implementation example using HTML and JavaScript:
<!DOCTYPE html>
<html lang="en">
<head>
<meta charset="UTF-8">
<meta name="viewport" content="width=device-width, initial-scale=1.0">
<link href="path/to/bootstrap.min.css" rel="stylesheet">
<script src="path/to/jquery.min.js"></script>
<script src="path/to/bootstrap.min.js"></script>
<script src="path/to/bootstrap-typeahead.min.js"></script>
</head>
<body>
<div class="container mt-5">
<input type="text" class="form-control" id="searchInput" placeholder="Search...">
</div>
<script>
$(document).ready(function(){
var countries = ['Australia', 'Canada', 'India', 'United Kingdom', 'United States'];
$('#searchInput').typeahead({
source: countries
});
});
</script>
</body>
</html>
In this example, the search input with the ID ‘searchInput’ is associated with the Typeahead plugin, and an array of countries is provided as the data source. As the user types, the plugin dynamically suggests relevant matches.
Customization and Advanced Features
While the basic implementation caters to the fundamental autocomplete functionality, you can further customize and enhance the Bootstrap Autocomplete Search based on your specific requirements. Consider integrating features such as:
- Remote Data Source: Fetch data from an external API dynamically, ensuring that the autocomplete suggestions are always up-to-date.
- Styling and Theming: Customize the appearance of the autocomplete dropdown to align with your website’s design and theme.
- Multiple Selections: Allow users to select multiple items from the autocomplete suggestions, providing a more versatile search experience.
- Caching: Implement caching mechanisms to optimize performance and reduce the load on external data sources.
Best Practices for Bootstrap Autocomplete Search
To maximize the effectiveness of your Bootstrap Autocomplete Search, keep these best practices in mind:
- Optimize Data: Ensure that the data source is well-organized and relevant to your users. Consider filtering and sorting the data to provide meaningful suggestions.
- Accessibility: Make sure the autocomplete feature is accessible to all users, including those with disabilities. Utilize ARIA attributes and provide alternative text for screen readers.
- Mobile Responsiveness: Test and optimize the autocomplete search for mobile devices to deliver a consistent user experience across all platforms.
- Performance: Regularly monitor and optimize the performance of your autocomplete search, especially if dealing with large datasets. Consider implementing lazy loading for better efficiency.
A basic example of Bootstrap Autocomplete search

With our component you can easily add to autocomplete menu what you want.
You only need to add arrays in JavaScript with your variable and you have to initiate that variable with our JavaScript code.
For example:
BOOTSTRAP AUTOCOMPLETE SEARCH HTML
<div class="md-form">
  <input type="search" id="form-autocomplete" class="form-control mdb-autocomplete">
  <button class="mdb-autocomplete-clear">
    <svg fill="#000000" height="24" viewBox="0 0 24 24" width="24" xmlns="https://www.w3.org/2000/svg">
      <path d="M19 6.41L17.59 5 12 10.59 6.41 5 5 6.41 10.59 12 5 17.59 6.41 19 12 13.41 17.59 19 19 17.59 13.41 12z" />
      <path d="M0 0h24v24H0z" fill="none" />
    </svg>
  </button>
  <label for="form-autocomplete" class="active">What is your favorite US state?</label>
</div>
Bootstrap Autocomplete search Javascript
var states = [
"Alabama",
"Alaska",
"Arizona",
"Arkansas",
"California",
"Colorado",
"Connecticut",
"Delaware",
"Florida",
"Georgia",
"Hawaii",
"Idaho",
"Illnois",
"Indiana",
"Iowa",
"Kansas",
"Kentucky",
"Louisiana",
"Maine",
"Maryland",
"Massachusetts",
"Michigan",
"Minnesota",
"Mississippi",
"Missouri",
"Montana",
"Nebraska",
"Nevada",
"New Hampshire",
"New Jersey",
"New Mexico",
"New York",
"North Carolina",
"North Dakota",
"Ohio",
"Oklahoma",
"Oregon",
"Pennsylvania",
"Rhode Island",
"South Carolina",
"South Dakota",
"Tennessee",
"Texas",
"Utah",
"Vermont",
"Virginia",
"Washington",
"West Virginia",
"Wisconsin",
"Wyoming"
];
$(‘#form-autocomplete’).mdbAutocomplete({
data: states
});
BOOTSTRAP AUTOCOMPLETE WITHOUT CODING
You can also skip all the steps above and simply create a semantic search engine using expertrec.
- Go to Bootstrap autocomplete search creator.
- Sign in with your Gmail ID.
- Add your website URL.
- Wait for the crawl to complete.
- By now the search results UI will be ready ( you can check out the demo).
- Go to Search settings-> Semantic search – Enable it.
In conclusion, Bootstrap Autocomplete Search is a valuable tool for enhancing user experience on your website. By implementing this feature effectively and adhering to best practices, you can create a smooth and efficient search process that keeps users engaged and satisfied. Experiment with customization options to tailor the autocomplete search to your website’s unique needs and deliver a truly optimized search experience.
