We have a default setting which is ideal for most of the users. But if you still want to alter the setting and fine tune according to your requirements, this post is for you.
In this post, you can see what are the advanced option and what are the setting you can or should set. But be careful what you change.
You must have created a Custom Search account on cse.expertrec.com if not Please create your account. When you signed in you can see the dashboard where all the setting for Custom search is available.
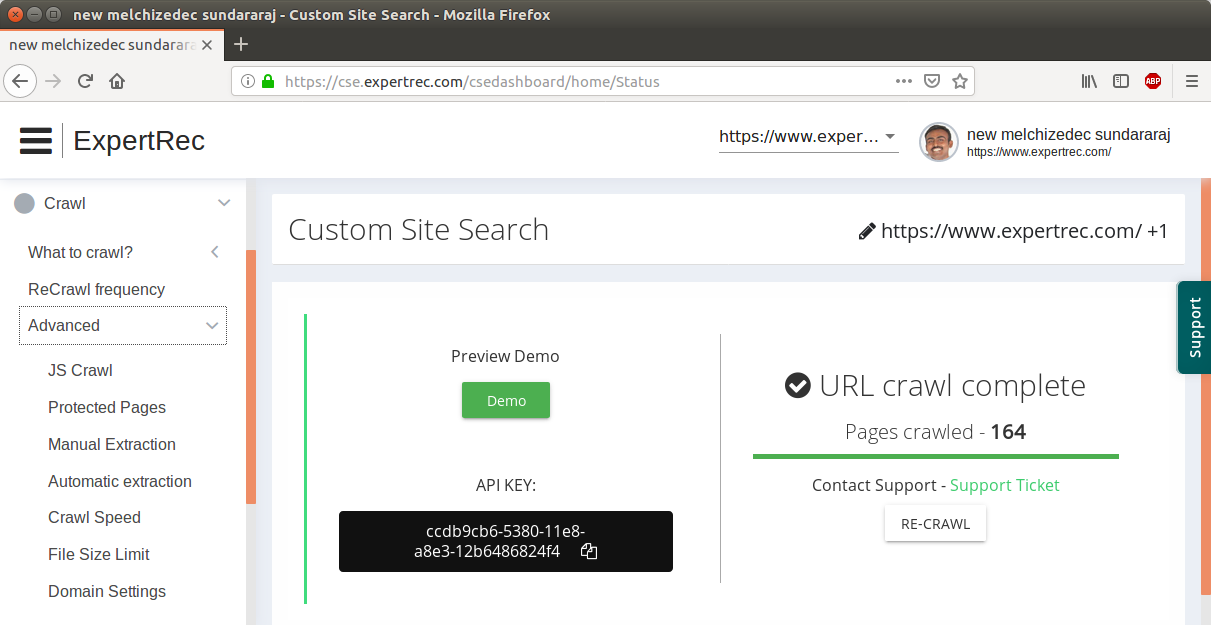
Navigate to Crawl-> Advanced
Here you can find all the advanced option available like JS Crawl, Crawl Speed, File Size limit etc.
We will get through all of the options in details.
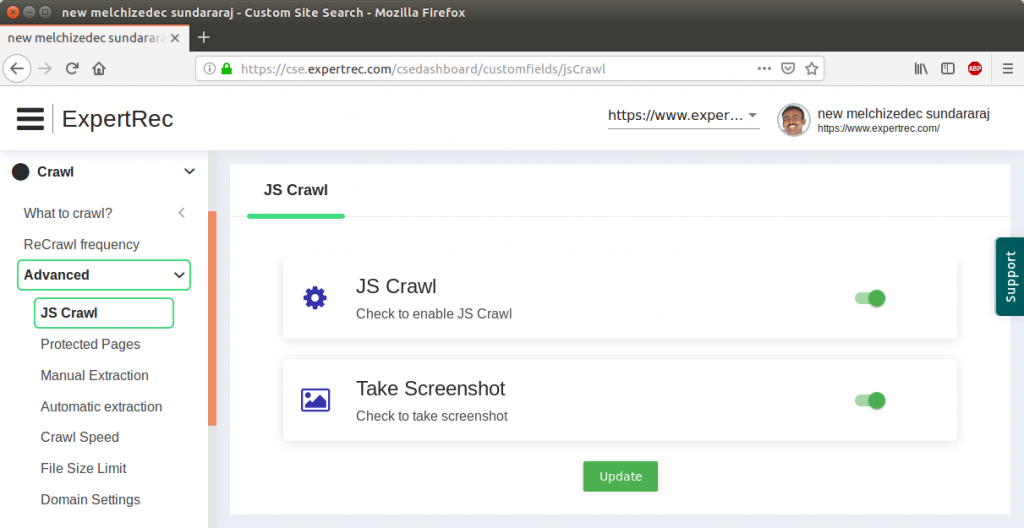
- JS crawl: By default, all the crawls have this flag set to true. Most of the current web pages are heavily JavaScript dependent to show contain. If your website has all its pages as the static content you can disable this flag. If this flag is enabled there is one more property for you to chose, if you want us to take a screenshot of the rendered page and show in the results then enable “Take Screenshot” property. If you want screenshot then you have to enable “JS crawl” property.

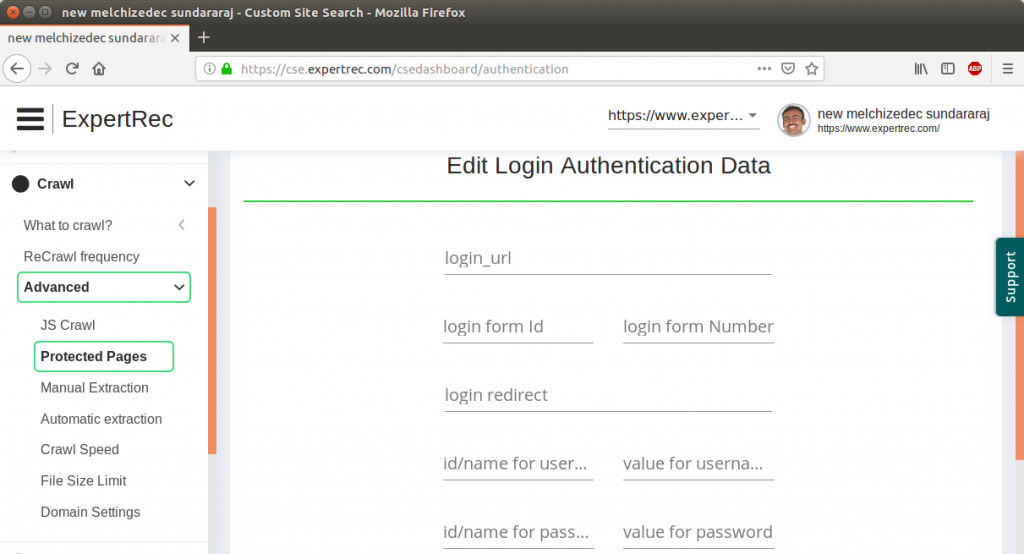
- Protected Pages: Sometimes pages you want to find may be behind the authentication and not visible to outside worlds. Which make them impossible to index for us and include in your search. If you want this pages indexed you need to provide the necessary details in given form. All fields self-explanatory.

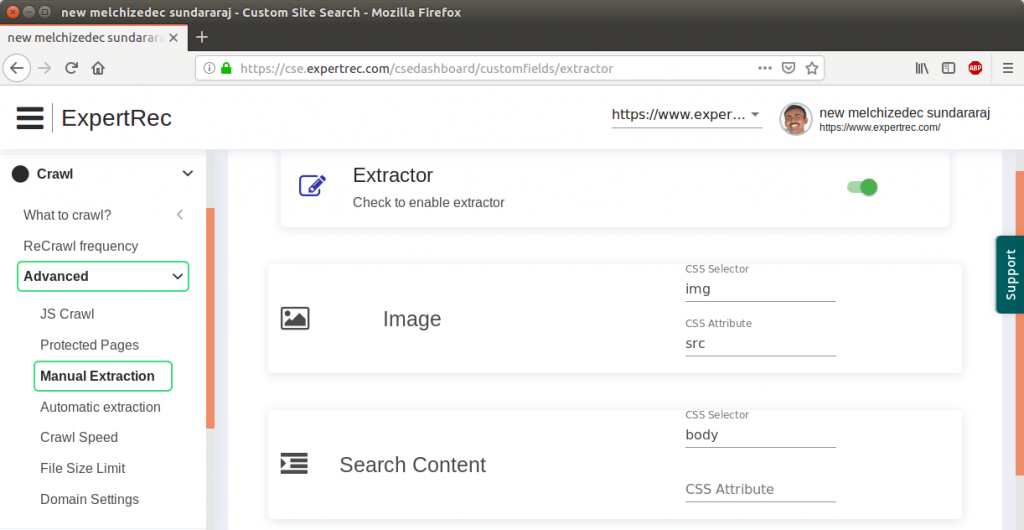
- Manual Extraction: If you fixed pattern in your pages for content and images and you have knowledge about HTML and CSS, then you can make use of this option to extract data. Enable the “Extractor” property, then you can specify the CSS selector of the image and which attribute we can find the image link in that HTML element. For search content In CSS selector, you can pass CSS selector for the HTML element for which you want to fetch data by default entire body content will be fetched. In case your data is present as an attribute in that element then only specify CSS attribute field otherwise leave it blank.

- Automatic extraction: This will mostly ignore the navigation, footer, header and other irrelevant content from appearing in the search results. Just use the toggle button to change and update this property.
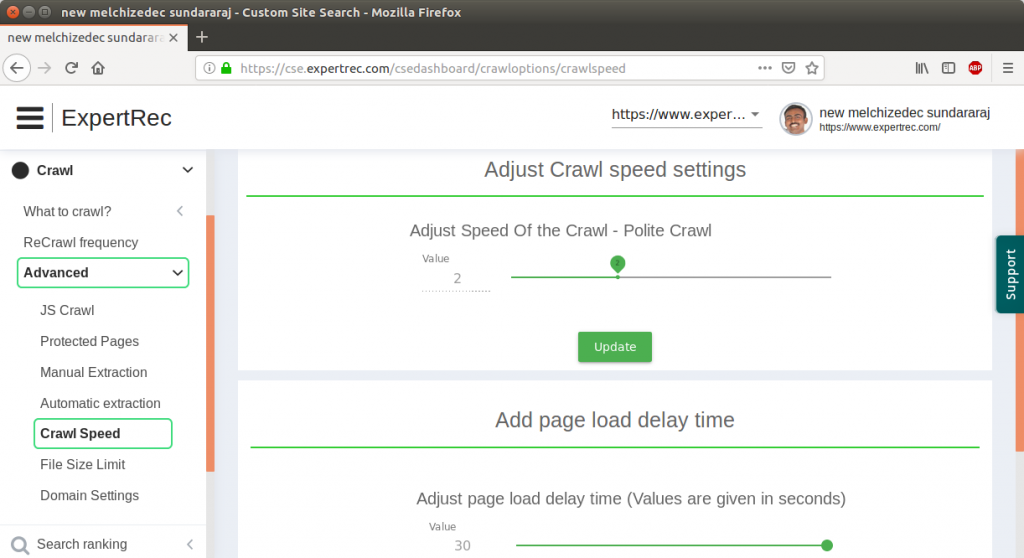
- Crawl Speed: You can control how many bots can visit your website in parallel as well as control the maximum time we should wait for a page to load. If there are heavy servers powering your website and you want indexing to happen quickly you can go for the aggressive crawl and less loading time for your website. On the other hand, if you can choose slow crawl and maximum wetting time if your web pages are slow or you don’t want the load on your server. The speed of crawl will be directly proportional to the load on your website. Choose the setting wisely according to your need and capacity of your servers.

- File size limit: If have large documents (PDF). You can set to the maximum value of 100 MB.
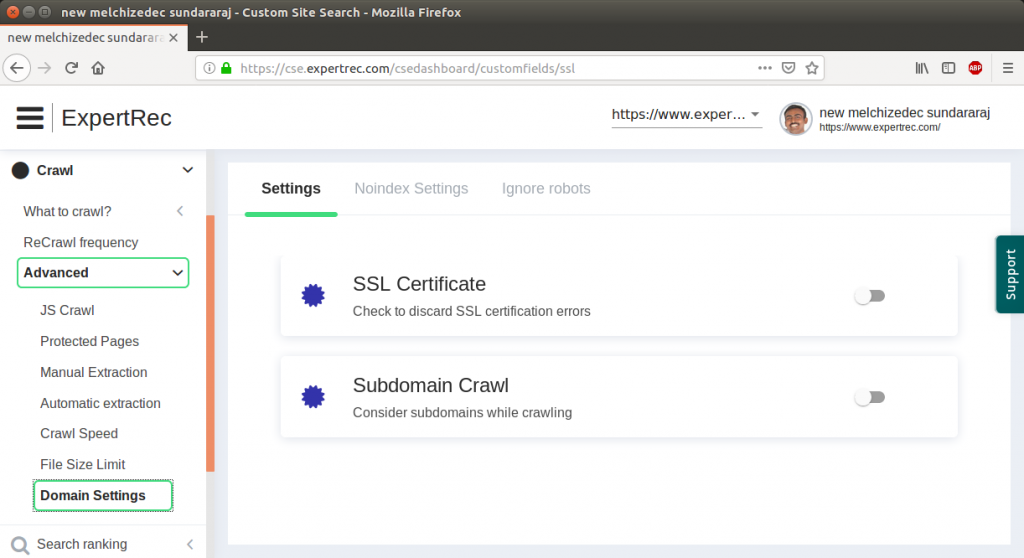
- Domain Settings: These sections include multiple setting options depending on your site chose it carefully.
- Setting:
- SSL Certificate: For your site is giving any kind SSL errors. You should enable this. Because of SSL errors, many or all of your pages might not be getting indexed and you may see 0 pages indexed even if your site contains many pages.
- Subdomain Crawl: Let us consider a simple example. We have site www.expertrec.com which we are indexing, some of its pages are pointing towards or in a sitemap, there is a reference to blog.expertrec.com. Now we may or may not want to index blog.expertrec.com for this purpose this property is there. If you want to include just enable the property and it will also crawl all the sub-domains which it will find, contrary if you do not want to include this results in your search keep it disabled.

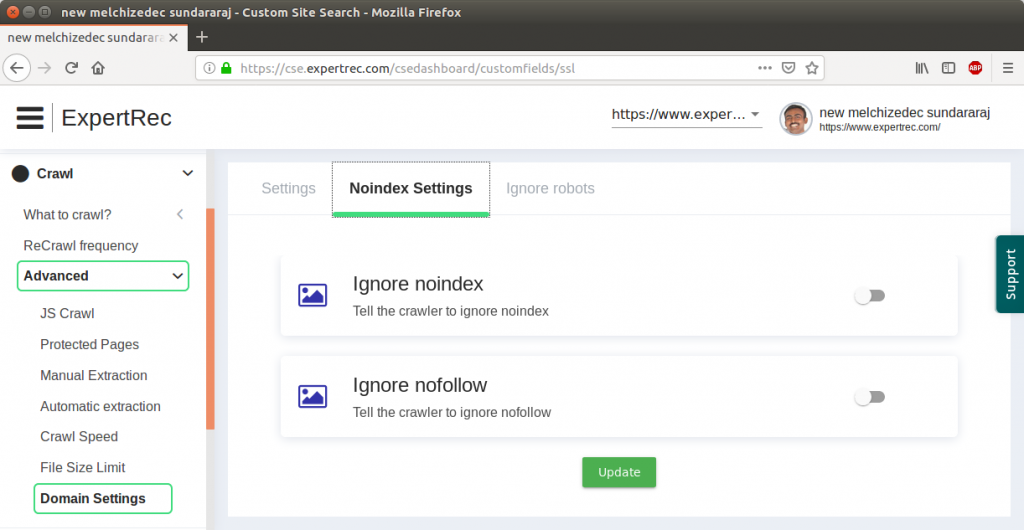
- Noindex Settings: You can use a special HTML <META> tag to tell robots not to index the content of a page, and/or not scan it for links to follow. The site you put might be a test site and you don’t want robots like Google’s to crawl your site and may have set META tag as
<META NAME="ROBOTS" CONTENT="NOINDEX, NOFOLLOW">
But for us to index your site you should enable both this flags in such a scenario. But if your website is not test site then you should keep these properties disabled because there might be a few pages you would like to indexed like login page.

- Ignore Robots: Web site owners use the /robots.txt file to give instructions about their site to web robots; this is called The Robots Exclusion Protocol. Like Noindex, Nofollow setting if you disallowed robots to crawl your website then you should check on the checkbox to allow us to bypass robots.txt and index your pages.
- Setting:
One important thing to note if you changed the any of the properties if there is update button present be sure to press it. After successfully updating of the property you will see success popup. The changes you made will take effects when next crawl of your website happens. If you changed property like Crawl Speed there is no need to go press recrawl button on the home screen of the dashboard. But currently, your results are bad because of wrong setting and you have made the appropriate changes. You can restart the crawl and new changes will take effects. If in case crawl is running first press stop crawl button wait for the crawl to stop and then press recrawl button to take changes into effect.
Hopefully, after reading this post you should be able to effectively and effortlessly apply the setting to your Custom Search account.

